Visual Studio installeren
Profiel instellen
Vanaf de installatie zie je het verschil tussen de 2015 en 2013 versie. De eerste keer dat je Visual Studio 2013 start, wordt je gevraagd om een standaard profiel in te stellen, zoals web programmeren, Visual Basic programmering, algemene ontwikkeling, of eventueel andere profielen van vorige versies van de IDE. Dit is een stap die je in de 2015 versie niet meer niet meer zetten.
Aanmelden op Visual Studio
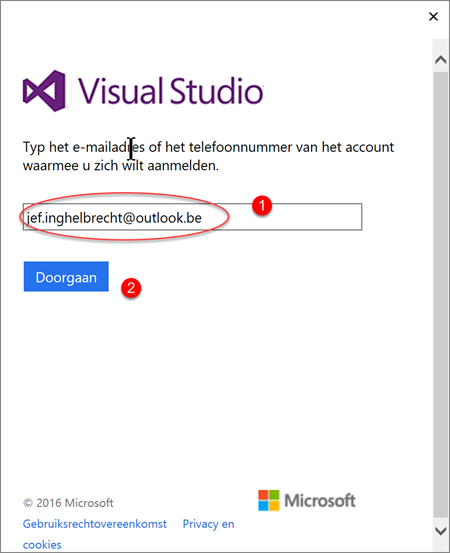
Na het selecteren van het profiel, zal Visual Studio 2013 je vragen om in te loggen met een Microsoft-account (voorheen bekend als Windows Live ID). Een Microsoft-account is een e-mailadres op basis van een van de Microsoft-providers zoals Hotmail, Live, of Outlook.
Als je nog geen Microsoft Account hebt, is het nu het moment om dat te doen.
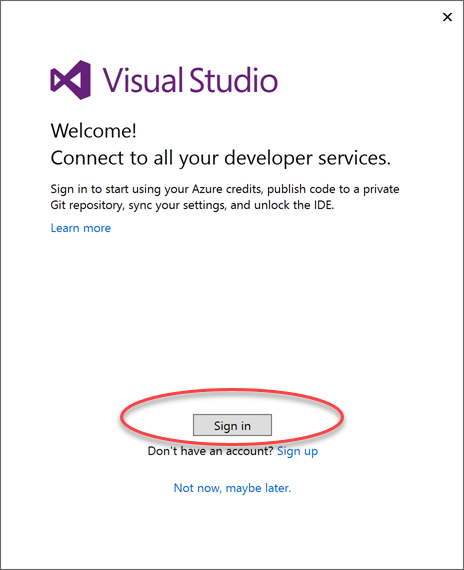
Aanmelden met een Microsoft-account is niet verplicht. Je Visual Studio gebruiken zonder een e-mailadres. Maar het aanmelden heeft enkele voordelen:
- Je kan profiteren van gesynchroniseerde instellingen, zoals later in dit hoofdstuk beschreven.
- Je wordt automatisch aangemeld bij het Team Foundation Service-account gekoppeld aan je e-mailadres, tenminste als je geabonneerd bent op deze dienst.
Team Foundation Service
Team Foundation Service is a cloud-based version of Team Foundation Server, the popular Microsoft platform for team collaboration. With Team Foundation Service you can host team projects and take advantage of source control and other team development tools wherever you are. Another important reason for signing into Visual Studio with a Microsoft Account is that the IDE automatically connects your account to the associated Team Foundation Service account. To create your Team Foundation Service account, visit http://tfs.visualstudio.com.
Synchronized settings
Vermits jullie op een computer op school werken en op een andere thuis is het handig de synchronisatiemogelijkheden goed te begrijpen.
By default, Visual Studio 2013 can synchronize the following settings:
- Development settings. These are related to the development profile selected the first time you ran Visual Studio and can be changed by selecting Tools, Import and Export Settings, Reset All Settings.
- Theme settings, available in Options, Environment page, General tab
- Startup settings available in Options, StartUp
- All settings for the text editor available in Options, Text Editor
- All settings for fonts and colors available in Options, Environment, Fonts and Colors
- All default and custom keyboard shortcuts, available in Options, Environment, Keyboard
- Customized command aliases
Tip: Command aliases are a way to enter commands inside the Command window and allow opening dialogs or launch other tasks in Visual Studio, instead of using menus and menu items. The full list of built-in aliases is available at: http://msdn.microsoft.com/enus/library/c3a0kd3x.aspx
When you make changes or customizations, Visual Studio stores the aforementioned settings on the cloud, that is, on Microsoft servers, and associates those settings to the Microsoft Account you used to sign in. When you sign into Visual Studio with the same account on a different computer, the IDE downloads settings associated to your account and applies them to the active environment. Developers have been requesting this feature for a long time and finally Visual Studio 2013 solves the problem. This is just another example of how the cloud can make your life easier as a developer. Remember that synchronization works even if you have different editions of Visual Studio 2013, such as Ultimate, Premium, and Professional. Synchronization also applies to Express Editions, but it does not work if you have Express and non-Express editions on the same machine.
Selective synchronization
You can disable settings synchronization or choose what you want to synchronize among the settings listed in the previous paragraph. To accomplish this, go to the Tools menu, then select the Options submenu, then the Synchronized Settings command. Then the Options dialog appears.
The Enable synchronization for the following categories of settings check box is selected by default. If you unselect it, synchronization will stop until you explicitly re-enable it. You can also select one or more specific settings you want to synchronize, excluding settings you do not use. Click OK to apply your changes.
Synchronization conflicts
For various reasons, synchronization across multiple machines can occasionally fail. If this happens, Visual Studio shows a message in the Notification Hub (see the next topic of this chapter). The MSDN documentation describes three possible solutions with some manual work. As a personal suggestion, turn synchronization off on the computer where it was not successful, and then sign out. Next, sign in again and turn synchronization on again.
Notifications Hub
Visual Studio 2013 introduces a new concept of notifications. The goal is keeping the developer informed about product updates, extension updates, documentation updates, license issues, problems with the Microsoft Account, unresolved conflicts, and other errors. The IDE presents notifications to you via the Notifications Hub. The Notification Hub consists of a new tool window called Notifications and of a small flag icon (the Notifications button) placed near the Quick Launch bar, indicating the number of available notifications. To open the Notifications window:
- Click the View menu.
- Select the Notifications entry.
You can also click the Notifications button on the Quick Launch bar for faster opening. Figure 6 shows the Notification Hub.
If you click the button, the Notifications tool window opens and shows a full list of notifications. You can expand the notification description and, in case the notification is about an update, you will be able to click a hyperlink that will redirect you to the download page. You can also ignore all notifications by clicking Dismiss All.